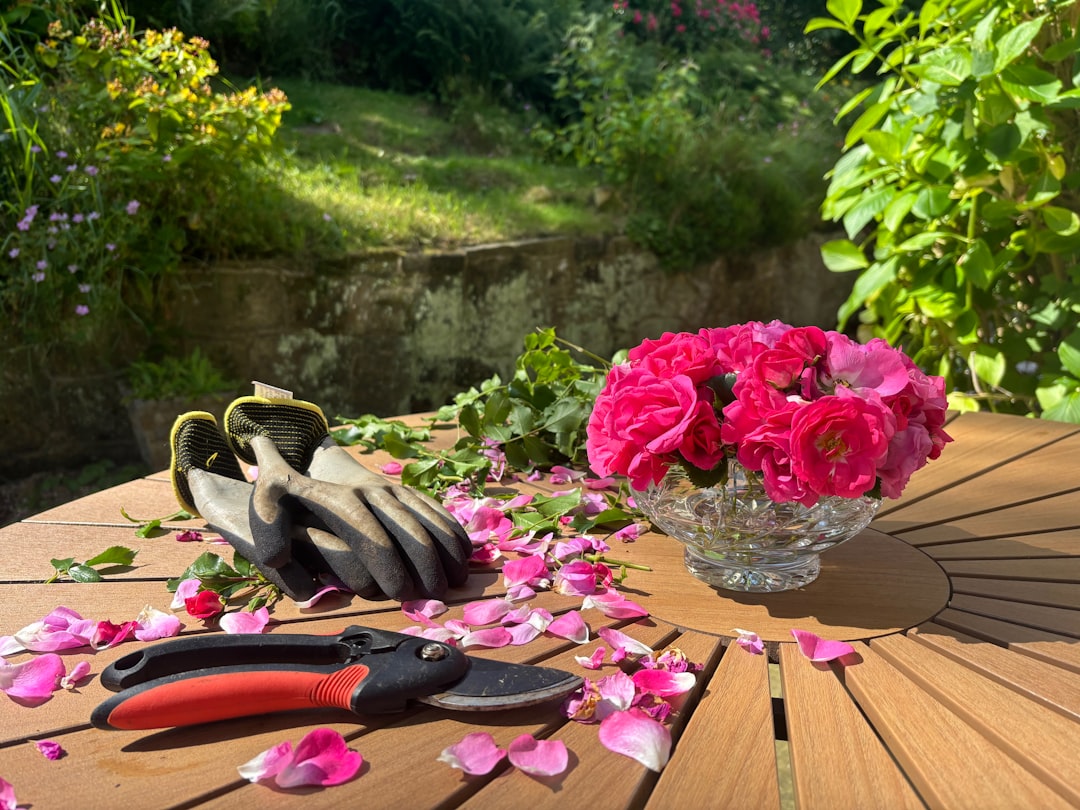
The Art of Sharpening Garden Shears for a Pristine Landscape

When it comes to maintaining a beautiful landscape, having the right tools is essential. Among these tools, freshly - sharpened pruners stand out as the key to making clean cuts in your gardening endeavors. In this guide, we will walk you through the steps to sharpen your garden shears properly, ensuring that your plants receive the best care possible.
Before you begin the sharpening process, it's important to gather the necessary materials. You will need a sharpening stone, preferably a fine - grit one for a smooth edge. A cloth for cleaning the shears, some lubricating oil to prevent rust, and a pair of safety gloves are also recommended. Safety should always be your top priority when working with sharp tools.
Start by disassembling the garden shears if possible. Many modern shears have a simple mechanism that allows you to separate the blades from the handles. This makes the sharpening process much easier and ensures that you can reach all parts of the blade. Use a small wrench or screwdriver to loosen the bolts or screws holding the shears together. Place the parts in a safe place to avoid losing them.
Once the shears are disassembled, take a close look at the blades. Inspect them for any signs of damage, such as nicks or chips. If you notice any significant damage, it might be necessary to replace the blade. However, minor nicks can often be fixed during the sharpening process.
Now, it's time to start sharpening. Hold the sharpening stone firmly in one hand. Place the blade of the shear against the stone at a consistent angle. A common angle for garden shears is around 20 - 25 degrees. This angle will provide a sharp edge that is suitable for most pruning tasks. Use a back - and - forth motion along the length of the blade, applying gentle pressure. Make sure to sharpen both sides of the blade evenly. You may need to make several passes on each side to achieve the desired sharpness.
As you sharpen, periodically check the edge of the blade. You can do this by running your finger gently (but carefully) along the edge. If it feels rough or dull, continue sharpening. Be patient during this process, as rushing can lead to an uneven or poorly sharpened blade.
After sharpening, clean the blades thoroughly with the cloth. Remove any metal shavings or debris that may have accumulated during the sharpening process. This will prevent the shavings from getting into the plants or causing further damage to the shears.
Once the blades are clean, apply a small amount of lubricating oil to them. The oil will not only prevent rust but also make the shears operate smoothly. Use a clean cloth to spread the oil evenly over the blades. Make sure to cover all surfaces, including the pivot point if the shears were disassembled.
If you disassembled the shears, it's time to reassemble them. Carefully align the blades and the handles, and then tighten the bolts or screws. Make sure that the shears open and close smoothly. If they feel too tight or too loose, adjust the tension accordingly.
Finally, test the sharpened shears on a small, non - essential branch or plant. Make a few cuts to see how well the shears perform. If the cuts are clean and effortless, then you have successfully sharpened your garden shears. If not, you may need to go back and make some adjustments to the sharpening or the tension.
Properly sharpened garden shears are a gardener's best friend. They make pruning tasks easier, more efficient, and less stressful on both you and your plants. By following these steps regularly, you can ensure that your shears are always in top - notch condition, ready to tackle any landscaping challenge that comes your way. Whether you are a seasoned gardener or just starting out, taking the time to sharpen your shears is a small investment that will pay off in the long run with a healthier and more beautiful garden.
In addition to regular sharpening, it's also important to store your garden shears properly. Keep them in a dry place to prevent rust. You can also use a blade cover to protect the sharp edge when the shears are not in use. This will extend the life of your shears and keep them performing at their best.
Remember, gardening is a labor of love, and having the right tools and maintaining them properly is an important part of the process. So, take the time to sharpen your garden shears, and enjoy the rewards of a well - maintained landscape.